
Pickled Carrot Nukazuke
- Eiten

- Sep 4, 2025
- 2 min read
Updated: Sep 8, 2025
人参のぬか漬け・Ninjin no Nukazuke
Nukazuke is a Japanese pickling method born from frugality and necessity. The primary ingredient of the pickling bed (nukadoko) is rice bran (nuka), which is the by-product of polishing rice. Simply discarding it would be a clear disregard for the principle of ichibutsu zentai, using ingredients fully. On top of that it would be mottainai, wasting the rice bran's potential.
It turns out the rice bran's potential was significant. Nukazuke came into practice during the Edo Period (1603-1868), at a time when there was a widespread vitamin B1 deficiency. The deficiency was the result of the popular consumption of polished white rice. A logical connection was made, existing fermentation techniques were reverse-engineered and applied to the rice bran, and the result was nukazuke pickles.
I wanted to share this recipe for carrot nukazuke to get you started for the simple reason that they are readily available, and often locally source and organic. I have yet to live anywhere where I have been unable to find a carrot at the supermarket.
Making a Rice Bran Pickling Bed
Once you get started, making nukazuke is easy. Getting started does require a bit of planning and time though. To get started you have to first make the rice bran pickling bed (nukadoko).
The recipe is below, but the general process is combining all of the ingredients—rice bran, water, salt, and dried shiitake, konbu, and chili pepper—and mixing them by hand then letting them sit in an enamel or ceramic pot for anywhere from 15 to 30 days while the lactic acid bacteria establishes itself. During this time, you need to give it a stir with clean hands once or twice a day to prevent spoilage.The length of time required to complete this process is weather dependent: starting your nukadoko during the Spring or Summer is going to be faster than starting it during the cooler months of Autumn or Winter.
While the necessary bacterial colony is getting established, you need to "feed" the bacteria. This is easily done with vegetable scraps that you can save while cooking, and adding them to the pickling bed. You will want to do this every 2-3 days, discarding the older scraps and adding fresh ones. There are a few vegetables to avoid, particularly during this intial stage, for a variety of reasons:
high-water content vegetables such as tomatoes—excess water dilutes the bed
spoiled vegetables—introduce harmful bacteria and mold
vegetables with a strong aromatic profile—prevent you from detecting off-odors & other warning signs that something may not be right
vegetables that have a strong tint such as beets—they will discolor the bed and any vegetables that you put into it
Once you get the nukadoko made you are more or less done, except for continuing to stir it every few days to prevent spoilage. Just add vegetables and let the bacteria do the rest. You will have an unlimited supply of probiotic pickles that are high in vitamins (B vitamins, vitamin E), contain antioxidants (ferulic acid), and may even decrease stress (rice bran contains GABA, an amino acid that is said to contribute to relaxtion and restful sleep).
1
Storage
Most nukazuke will last for up to one week if handled properly and kept refrigerated until you are ready to eat them. Always wash your hands before removing them from the container to avoid contaminating the container and increasing the risk of spoilage.
2
Serving
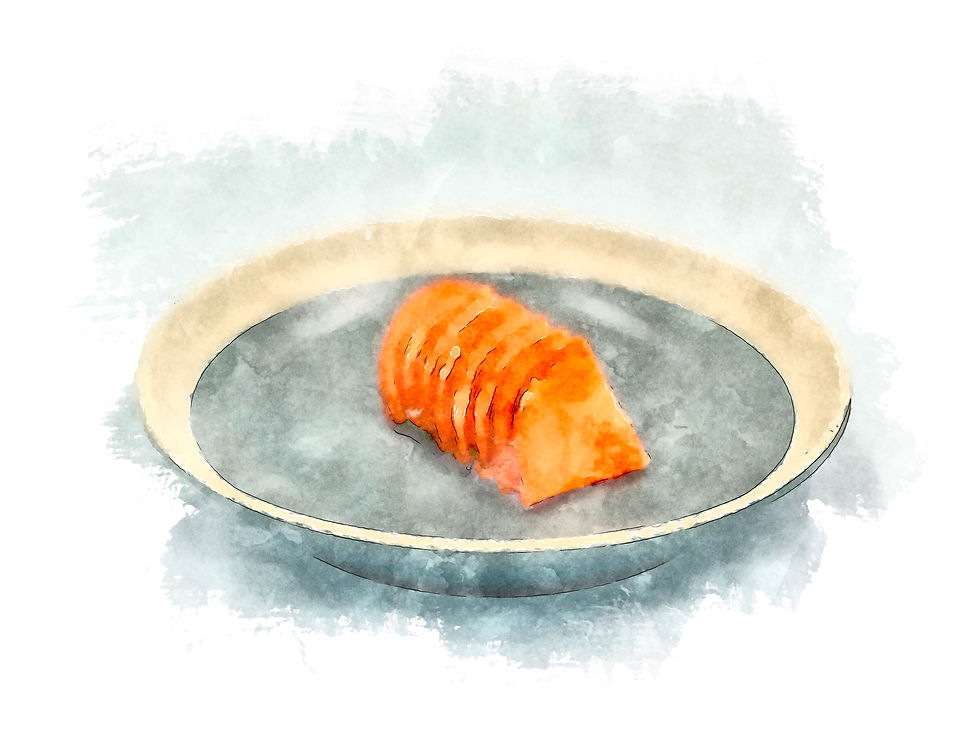
How thick or thin to cut the nukazuke will depend on the initial size and shape of the vegetable used. Aa a general rule, the pieces should be bite-sized so that they can be easily eaten with hashi (chopsticks).
Notes


1
Weigh the nuka (rice bran) in a suitable container to store the nukadoko. Pour half of the water and allow a few minutes for the bran to absorb the water. Repeat with the remaining water. Add the salt and mix thoroughly to distribute the salt evenly throughout the mixture.
2
Dig a hole in the center of the mixture and add the shiitake, konbu and togarashi. Cover with the mixture and flatted the surface by hand to eliminate any air pockets.
3
Add some scrap vegetables following the same procedure as the previous step. It can be anything, including scraps, since these vegetables are just to help the bacteria to establish a healthy colony. Store the nukadoko at room temperature (about 70F is ideal) and out of direct sunlight.
4
Add some scrap vegetables following the same procedure as the previous step. It can be anything, including scraps, since these vegetables are just to help the bacteria to establish a healthy colony. Store the nukadoko at room temperature (about 70F is ideal) and out of direct sunlight.
5
Every 2-3 days: Remove the vegetable scraps and replace with new ones. Continue repeating this for approximately two weeks, at which time the nukadoko will be ready for pickling.
6
Once the pickling bed is ready to go it is time to finally make some pickles. Start by washing the carrot, scrubbing well with a brush to remove any soil from the surface. Next cut the carrot in half crosswise. Cut the bottom half in two lengthwise, and cut the top half into 4-6 pieces lengthwise, depending on the size of the carrot. The important thing is that all of the pieces are equal in size so that the fermentation occurs evenly.
7
With clean hands, bury the carrot in the pickling bed. Space the pieces evenly so that they are covered on all sides by the nuka and are not in contact with one another. Clean any nuka from the edges of the container with a clean, damp cloth and cover with a tight fitting lid. Set the container aside in a cool, dry place at room temperature for 16-18 hours.
8
When the pickles are ready, remove them from the pickling bed with clean hands, brushing off any nuka that clings to the pieces. If serving immediately, rinse the carrot with fresh water and dry with a clean towel before slicing and serving. If storing, put them as is into a container, cover with a lid, and refrigerate until needed.
Instructions
100 g Rice bran
1000 g Fresh water
175 g Sea salt
8 g Dried shiitake
3 g Dried konbu
1 ea Dried chili pepper
Making the Nukadoko (Pickling Bed)
1 ea Pickling bed (to ferment in)
453 g Carrots (one large)
For the Pickled Carrot Nukazuke
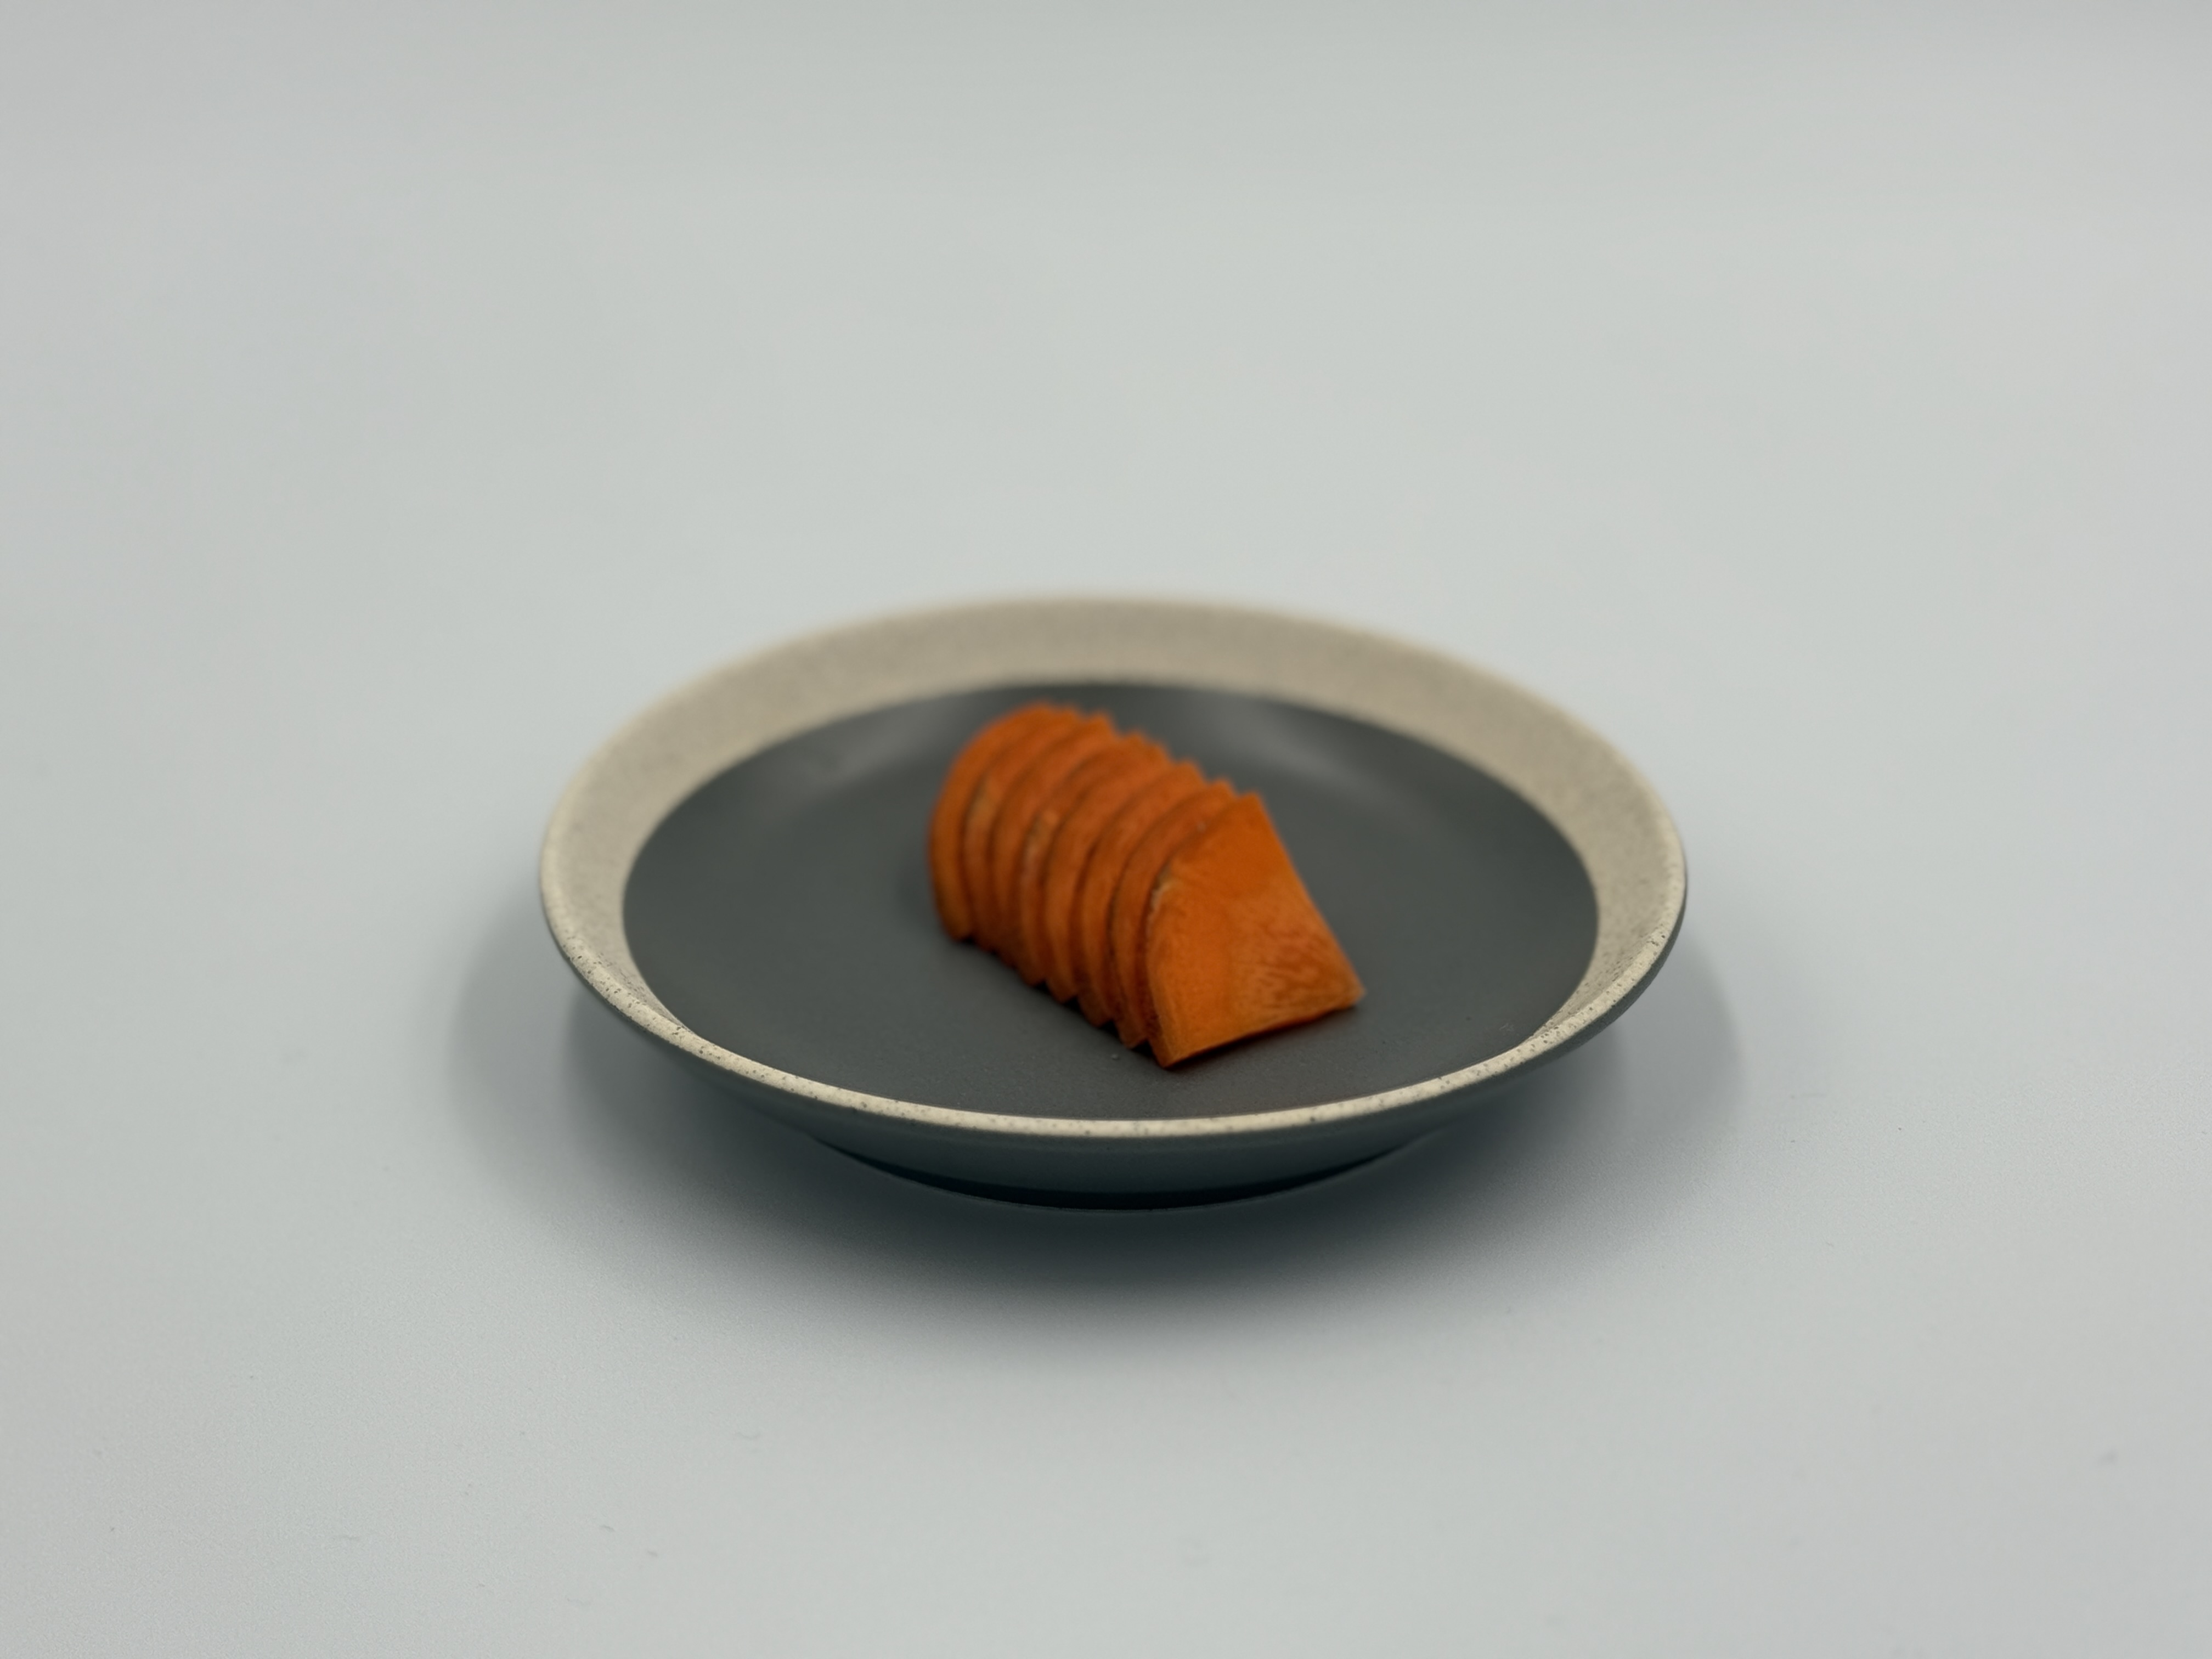
Pickled Carrot Nukazuke・人参のぬか漬
%20(1).jpg)
Once you get the nukadoko made you are more or less done, except for continuing to stir it every few days to prevent spoilage. Just add vegetables and let the bacteria do the rest. You will have an unlimited supply of probiotic pickles that are high in vitamins (B vitamins, vitamin E), contain antioxidants (ferulic acid), and may even decrease stress (rice bran contains GABA, an amino acid that is said to contribute to relaxtion and restful sleep).
Servings :
9 x 50g
Calories:
Approx. 21 calories
Prep
10 mins
Passive
15 to 30 days
Pickling
16-18 hrs
Total
15+ Days


Comments